A cornerstone pose of every class I teach and my own practice, is reclined leg stretch. Its Sanskrit name is Supta Padangusthasana. Supta means reclined, pada translates as foot and angusta is variously translated as thumb or big toe. Asana is a pose or “firm seat” in Sanskrit. This leg stretch can be modified for any body type, any stage of life, and any relationship to gravity. It is fundamental for beginners and long-term practitioners. In practicing the pose, many students utilize an arm lengthener in the form of a strap or tie since it is often challenging to reach the toe with the hand. There are many variations of this pose, here we will focus on seven.
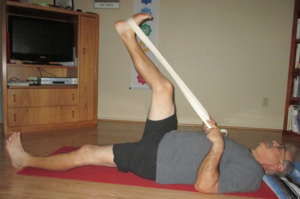
Leg stretch pose benefits:
Flexibility: the back of the body receives more space. The hamstring muscles as well as the lower back lengthen and depending on the version of the pose, hips become more mobile, adductors and abductors are lengthened and strengthened.
Traction of the back: Relieves tension and counters back flexion (rounding) from sitting all day. Lower back pain is relieved.
Relaxing: Mental and physical tension is released. When the practitioner facilitates the stretch by bending the knee slightly while easing in to the pose relaxation is enhanced. (For a great summary about calming the stretch reflex, see this post from the brilliant Dr. Roger Cole, with whom I studied in 2005.)
Safe and Accessible forward bend: When practiced reclined, the pose supports the back for forward bending.
Bone Building: According to Dr.Loren Fishman (And by the way, I was a subject in his yoga and osteoporosis study!), this pose is nearly ideal for stimulating bone growth as it engages just about every muscle and therefore stimulates every bone below the neck.
Ways to practice:
General tips:
It takes at least 30 seconds for your system to acclimate to the stretch response. Don’t rush in to achieve a 100% stretch or your body will rebel by tightening even more. Avoid pain or strain in the back of the knee.
Of course as in all yoga practice, breathe into each stretch.
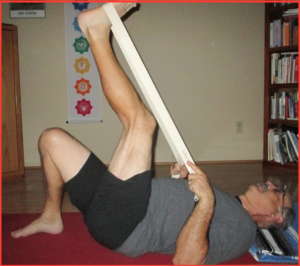
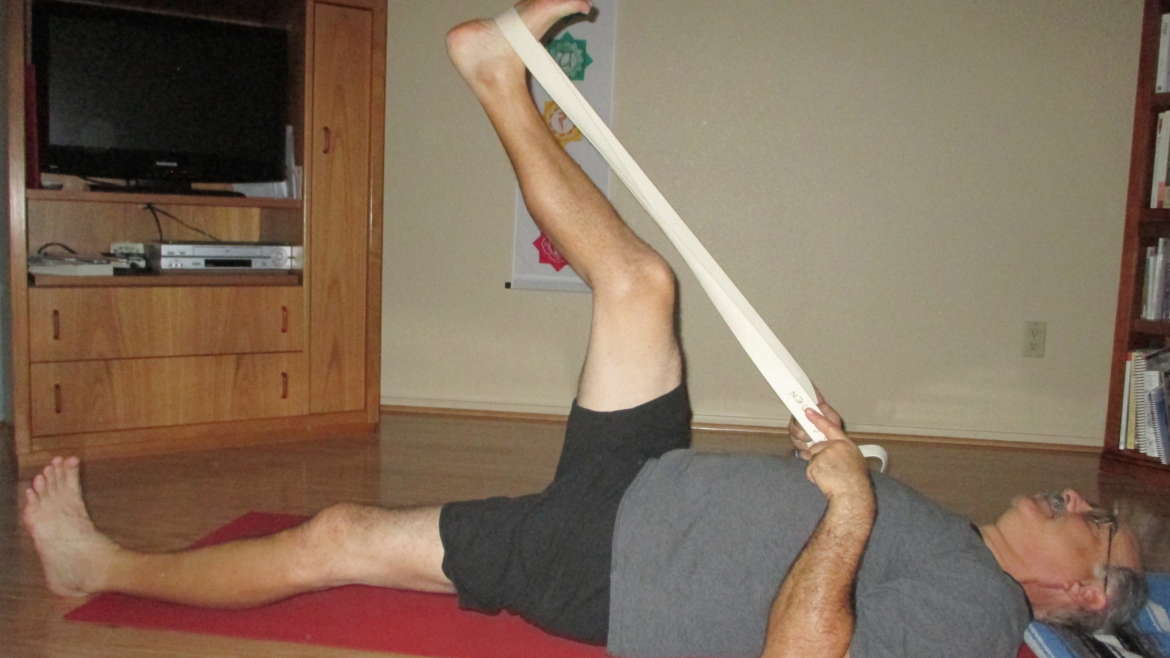
Reclined-bent or straight knee In this version, a belt is placed around the arch of the foot. The unbelted leg can have knee bent or straight. Experiment with both. Place a blanket or pillow under the head and neck if needed to prevent your chin from jutting up to the ceiling.
Gently press your hips into the earth and self adjust by placing the thumb in the hip joint of the lower leg to make space between the femur and acetabulum (thigh bone and hip joint). Yoga teacher Donna Farhi calls this “descending the femur”. Basically, don’t jam your joints!
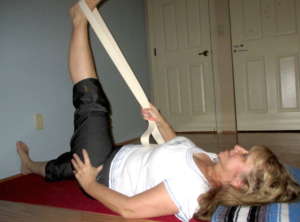
Foot at the wall By anchoring non-strapped leg at the wall, we create a “closed chain” stretch. This allows you to stabilize your joints, anchor your pose and work several muscle groups at once.
With a block Below is an intermediate version. To provide opening to the quadriceps, hip joint, and the psoas on the leg that is not strapped, place a block underneath your hips. This is one of my favorite variations from my teacher Jill Miller.
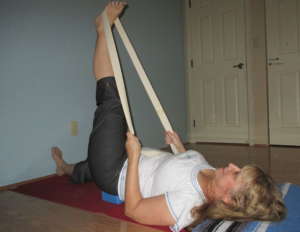
With a chair or bolster (seated) If you are pregnant or find it difficult to get up and down off of the floor, the versions depicted below are for you!
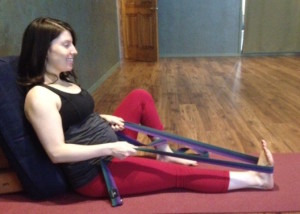
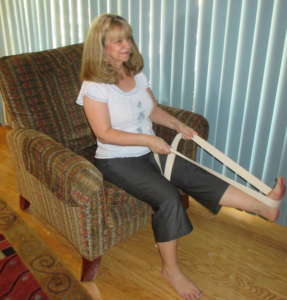
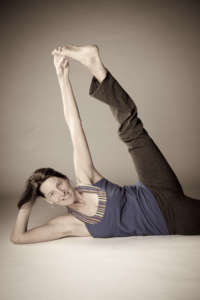
Side-Lying In the gorgeous variation pictured above, Natasha’s hip is in an externally rotated position. This version can work as relaxing closing pose (or anytime), for pregnant women or anyone who cannot lie down flat on the back.

2 Comments
Very informative nice to see the benefits to what we practice in class. For myself I have had issues with my abductors and lower back. Also like all the variations that are possible for many of those practicing to make their yoga their own practice.
Excellent point Dominique!
Comments are closed.